Custom Fonts in WordPress
This tutorial provides the steps to set up and use custom fonts in WordPress.
Step 1
Upload your font file (typically in .ttf or .otf format) at Font Squirrel to generate the webfont.

Step 2
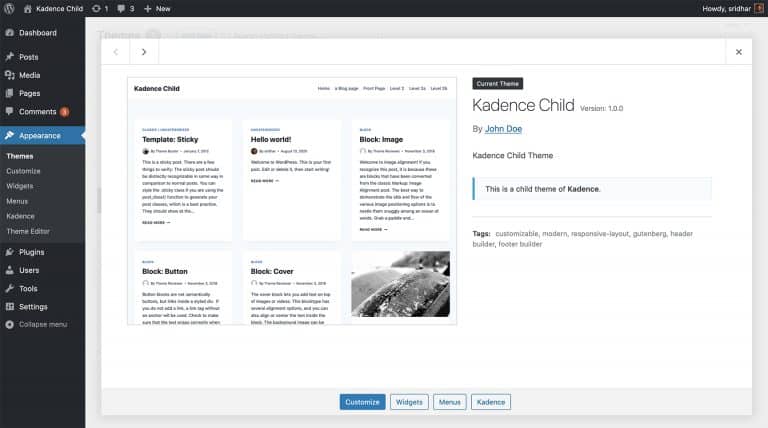
Extract the generated zip file and upload the .woff and .woff2 files to your child theme directory’s fonts directory. If there is no folder named fonts create one. This can be done using a File Manager plugin or cPanel file manager or a FTP client.

Step 3
Open stylesheet.css from the webfont folder in an editor like Visual Studio Code. Copy the code and paste it near the top (between comment header and any CSS code that may be present) of your child theme’s style.css.
Add fonts/ before the URLs.

Step 4
Now the custom font is ready to be used.
Ex.:
.entry-title {
	font-family: 'arcticregular';
}


